
Deposition
Thermal Evaporation
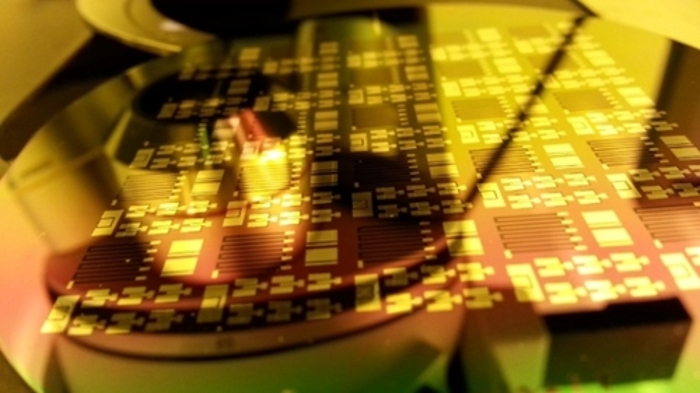
In this process a desired metal will be evaporated onto a substrate utilizing a combination of high temperature and low pressure. This will typically be used to place a hard mask on your substrate to better define your device, generally in MEMS. Make sure the desired metal can be thermally evaporated directly onto your substrate, otherwise the use of an adhesion layer will be necessary. Below is a table showing a previous hard mask used, which consists of an adhesion layer, and the actual metal that serves as a hard mask.
|
Metal |
Thickness (nm) |
Method |
|
Ni |
100 |
Thermal |
The substrate surface must be clean to ensure better uniformity of the metal.
Procedure: O2 Cleaning
- Blow wafer with nitrogen.
- Insert in Oxford Plasma Lab.
- Select and run O2 cleaning recipe.
- Select and run Native Oxide Etch recipe.
- Remove wafer from Plasma Lab
Procedure: Cleaning Holders
- Clean substrate holders for evaporation.
- Use sandpaper to scrub off previously deposited metal.
- Use a soft cloth with IPA or Methanol to clean off excess.
Procedure: Thermal Evaporation
- Place your wafer face down (the face being where the metal is desired).
- Place a boat of desired size on copper contacts, make sure they are tight.
- Place Nickel pellets in the boat. Note: Depending on size of the pellet and the boat, the number of pellets will change.
- Tightly close the window on Shanaia II.
Insert Image of Shanaia Window Here
- Close torus shutter.
- Turn on mechanical pump.
- Turn on rough pump.
- Wait until chamber pressure is at 5E-2 Torr. This can take between 30 to 60 minutes depending on how many particles are in the chamber.
Insert Image of Pressure Sensor
- Once the chamber pressure hits 5E-2 Torr, turn off the rough pump. Then turn off the mech pump.
- Turn on High Vac. This will pump the pressure lower. Using the Ion Gauge check that the pressure reaches 1E-6 Torr. This process will take roughly 2 hours to complete, but it can take longer if the cryo-pump has not been regenerated for a very long while.
- After the desired pressure is achieved turn on the power supply for the thermal evaporator.
- Turn on the Inficon to keep track of deposition rate.
- Carefully move up the power in 10% steps taking 10 seconds in between each step. Once 30% is reached the boat will begin to glow. Keep increasing the power until 50%.
Insert Image of Power Meter Here
- If after a few seconds the pellets don’t melt into a single ball, move up the power in 5% steps slowly.
- Once the pellets melt, wait a few seconds and begin moving down the power slowly between 30 to 40%. Note that the desired deposition rate will be achieved at different power % per material.
- Once the deposition rate stabilizes to a desired rate, simultaneously open the Torus 3 Shutter and reset the Inficon to get a more accurate deposition thickness.
- Once the desired thickness is achieved close the Torus 3 Shutter and stop the Inficon.
- Slowly bring down the power to 0%.
- Turn off High Vac. Turn on mech pump.
- Turn off the power supply. Wait 10 minutes.
- Turn on the nitrogen tank and the pipeline for Shania.
- Vent chamber to bring back to atmosphere pressure. Once this is achieved the chamber pressure will read 1. Turn off chamber vent.
- Open window and extract wafer.


